There are various ways of simplifying the use of table objects.
▪ If you hold down the Ctrl key when reducing the size of a table, all columns will be automatically reduced in size by the same factor.
▪ The width of the columns adjusts automatically. You can adjust the width of a column manually by moving the separating line to the right or the left with the mouse.
This changes all table columns whose separators are within +/-2 mm from the mouse position. If you hold down the Ctrl key, the action will only be carried out for the line on which the mouse is positioned.
If the option "Change width individually" is enabled (Table> Lines and Columns or Ctrl+M or project option "Column width modification affects next column"), you can alter the column width while making the next column smaller.
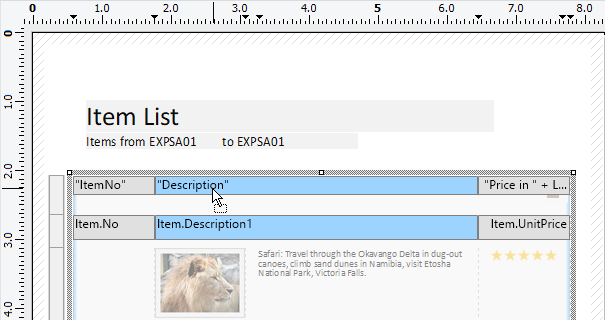
When columns are resized, all cells that are affected by the resizing are displayed in color. This gives you immediate feedback on which cell changes in which way - gray cells remain unchanged, blue cells increase or decrease in size. As soon as you end the column resizing process, you see the original display again.
Figure 5.21: Column Resizing UI
▪ If you move the first column separator to the right with the mouse, an empty column will be created in all line definitions.
▪ Use the keyboard shortcuts for efficient working. These keyboard shortcuts are displayed in the status bar during the resizing process.
▪ Dragging with the SHIFT key resizes all subsequent columns to the new size of the changed column.
▪ Dragging with the ALT key temporarily inverts the setting for "Change width individually".
▪ The CTRL key ensures that only one column is resized, even if there are matching other columns, such as in a header or footer.
▪ You can change the column order by dragging the actual column (not the column separator) in the workspace with the mouse. For example, by moving the second column to the left.

Figure 5.22: Column Sequence via Drag & Drop
▪ Use the function TableWidth() to define the column widths relatively. It returns the width of the table object. Example: With TableWidth()*30/100 the Column takes 30% of the width.
▪ You can hide Line Types (header, data, footer, group lines) in the workspace. To do this, select the table object and use Visible Line Types in the context menu or the corresponding menu item View> Visible Line Types.
▪ To align (sub) tables easier with one another, additional tick marks can be shown on the ruler by means of an element property.

Figure 5.23: Tooltip for a column separator
▪ If you want the column to be automatically adjusted to the content, simply set the column width to "Null()".
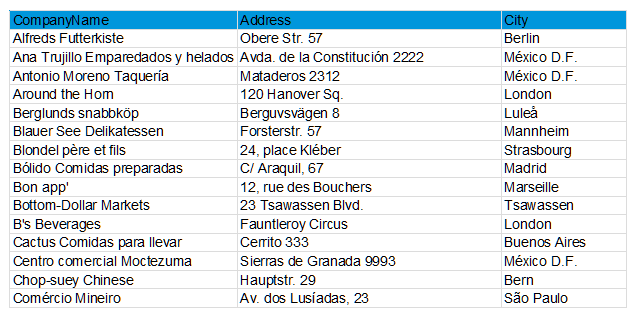
Figure 5.24: Adjust columns
automatically
The available settings for automatic size adjustment then allow you to fine-tune the behavior:
▪ Minimum Width: Specify the minimum width to be used, even if the content would not require it.
▪ Maximum Width: Specify the maximum width to use even if the content is actually wider.
▪ Weighting: This setting determines the white space ratio, i.e. the amount of white space to be added (or - if the aggregated column widths are larger than the table width - the amount of width to be reduced). Example: If for the first column the weighting "0" is set, weighting "2" for column 2, and weighting "1" for the third. Then the first column is optimally fitted (i.e. no space after the last letter), while the second column gets twice the width of the white space compared to the third.
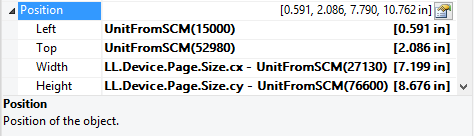
Figure 5.25: Weighting with automatic column width