
Proceed as follows in the Sample Application:
1. Choose Insert > Report Container (Objects > Insert > Report Container).
Figure 2.61: Tab "Insert"
2. In the workspace, hold down the left mouse button and pull the object to the required size.
3. A selection dialog will appear for the chosen element type. Choose the "Table" element type.
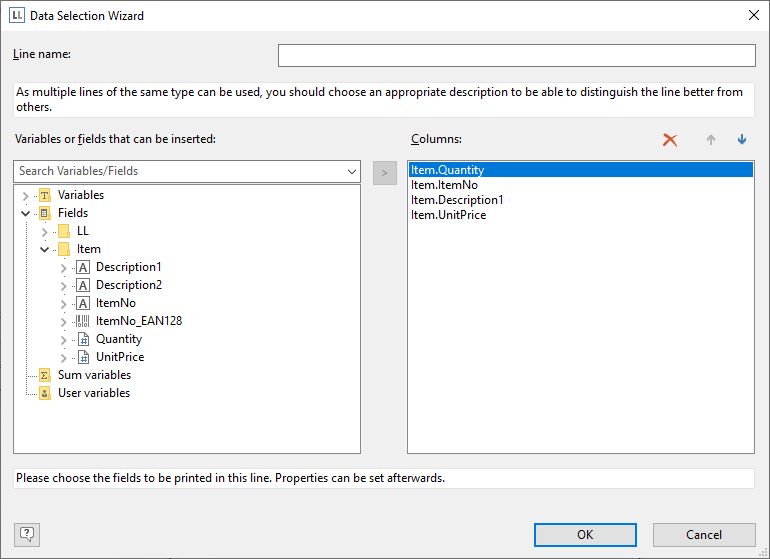
Figure 2.62: Object type selection
4. In the following dialog, now select the data source. All available tables are shown hierarchically, in other words, under the tables you will find the relational tables in each case.
To evaluate sales per country, for example, choose the "Orders > Order Details" table so that you have both tables at your disposal. The "Customers" table has a 1:1 relationship with the "Orders" table so you don't need to select it. The turnover is held in the "Order_Details" table.

Figure 2.63: Hierarchical tables for statistical reports
5. Create a data line with the "OrderID" field in the "Orders.Order_Details" table. Although the data line is not output (it is suppressed), but it still needs a field so that the table can be printed at all.